Container Gardens
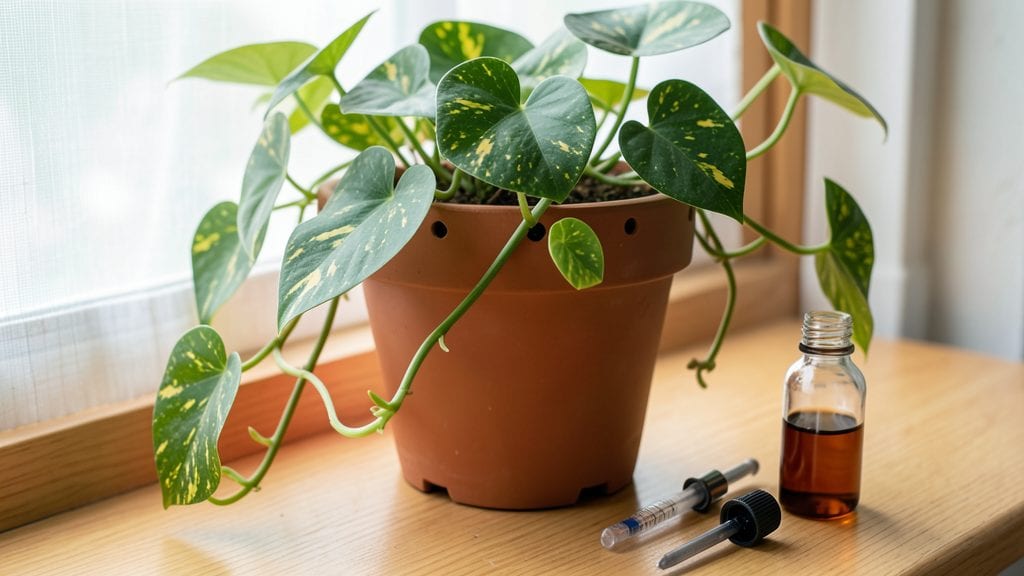
Feeding indoor plants the right way is your secret weapon for an indoor jungle that thrives—here’s my hydroponic-inspired blend for fast, lush growth in just 3-4 weeks. and peace lilies.
The secret lies in balancing nitrogen, phosphorus, and potassium (NPK) with micronutrients like calcium and magnesium. Unlike slow-release granules, this liquid mix dissolves instantly, so your plants absorb nutrients exactly when they need them.
Most indoor plants thrive on a weekly feeding schedule—just dilute a teaspoon of the mix in a gallon of water.
You’ll notice deeper green leaves within days, and new growth within weeks. The key is consistency: overfeeding causes salt buildup, but this formula is designed to prevent that while still pushing rapid, healthy development. Even finicky plants like calatheas respond beautifully.
Works for hydroponic setups, soil-based containers, or even misting systems. Let’s break down the exact ratios and application tips so you can replicate these results at home.
📚 In This Guide
- What you need
- Instructions
- Tips and common mistakes
- Wrapping up and next steps
What you need
- ● Hydroponic nutrients: 1 part Nitrogen (N) (e.g., 10-0-0 or similar)
- ● 1 part Phosphorus (P) (e.g., 0-20-0 or similar)
- ● 1 part Potassium (K) (e.g., 0-0-20 or similar)
- ○ Optional: Micronutrients (e.g., calcium, magnesium, iron chelates)
- ● Distilled or dechlorinated water: 1 gallon (3.8L) per batch
- ● Measuring tools: Digital scale (0.1g precision) or measuring spoons (for dry nutrients)
- ● Graduated cylinder or measuring cup (for water)
- ● Mixing container: Clean, food-grade bucket (5+ gallons) with lid
- ● pH testing kit: Digital pH meter or liquid pH test strips
- ● pH adjuster: pH Up (e.g., potassium hydroxide)
- ● pH Down (e.g., phosphoric acid)
- ● Air pump + stone (for oxygenation, if using deep water culture)
- ● Grow lights (LED or fluorescent, 12-16 hours/day for optimal growth)
- ● Hydroponic net pots (for seedling propagation)
- ● Label maker (to track nutrient batches and dates)
- ● Gloves (to protect hands from acids/alkalis)
Step-by-Step instructions for creating a hydroponic nutrient mix
This blend delivers rapid growth and vibrant foliage in just weeks.
Measure and Combine Primary Nutrients
Start with 1 gallon of distilled water as your base—tap water often contains minerals that disrupt nutrient balance. In a clean, food-grade container, dissolve 1 teaspoon of hydroponic-grade potassium nitrate first, stirring until fully incorporated. This provides the nitrogen your plants crave for leafy growth. Next, add ½ teaspoon of monoammonium phosphate, which supplies phosphorus for root development and flowering triggers.
Mix thoroughly for 30 seconds with a clean plastic spoon to ensure complete dissolution. The solution should appear clear with no visible residue. If you notice any undissolved particles, strain through a fine-mesh sieve before proceeding. This step is critical—uneven distribution leads to nutrient deficiencies like yellowing leaves or stunted stems.
Add Secondary Nutrients for Balance
To this primary mixture, introduce ¼ teaspoon of calcium nitrate, which prevents blossom-end rot in fruiting plants and strengthens cell walls. Stir again for 20 seconds until fully integrated. Follow with ⅛ teaspoon of magnesium sulfate (Epsom salt), the magnesium component that keeps chlorophyll production humming. The solution may develop a faint cloudiness—this is normal and indicates proper mixing.
Here's the thing—secondary nutrients often get overlooked, but they're what turn good growth into exceptional growth. If you skip this step, you'll see slower recovery from stress and weaker stems. For 4 servings, repeat this process with the remaining materials, keeping each batch separate until ready to use.
Incorporate Micronutrients for Complete Nutrition
In a separate small container, prepare a micronutrient blend by dissolving ⅛ teaspoon of chelated iron, ⅛ teaspoon of manganese sulfate, and ⅛ teaspoon of zinc sulfate in ½ cup of distilled water. This concentrated mix prevents deficiencies like yellowing between leaf veins or brown spots. Once fully dissolved, pour this micronutrient solution into your primary nutrient mix, stirring continuously for 45 seconds to ensure even distribution.
The key here is patience—rushing the mixing can leave micronutrient hotspots that burn roots. You'll know it's properly blended when the solution maintains a uniform color with no streaks. For best results, use this mixture within 24 hours of preparation to maintain potency.
Adjust pH for Optimal Uptake
Using a calibrated pH meter, test your nutrient solution immediately after mixing. The ideal range for most hydroponic systems is 5.5 to 6.2. If the reading is above 6.2, gradually add pH-down solution drop by drop while stirring. For readings below 5.5, use pH-up solution in the same manner. Each adjustment should be made slowly—overcorrecting can damage roots and lock out essential nutrients.
This is the moment that matters: proper pH ensures your plants can actually absorb what you've mixed. A pH reading of 7.0 or higher means your plants are starving, even if the solution looks perfect. After adjustment, let the solution sit for 10 minutes before using, allowing any added chemicals to stabilize.
Dilute and Apply to Hydroponic System
For fast growth, use this nutrient mix at a 1:10 ratio—meaning 1 part nutrient solution to 10 parts distilled water. In a clean reservoir, combine 1 cup of your prepared nutrient mix with 9 cups of distilled water. Stir gently to avoid creating bubbles that could disrupt oxygen levels in the system. This dilution prevents nutrient burn while maintaining potency for rapid development.
Apply immediately to your hydroponic system, ensuring the reservoir is completely filled. You'll see results within 3-5 days—new leaves will emerge with vibrant color, and stems will thicken noticeably. For best performance, replace the nutrient solution every 7-10 days, or when the solution begins to develop cloudiness or algae growth.
Tips & tricks for perfect hydroponic nutrient mixes
Mastering this nutrient blend transforms your indoor garden from merely surviving to thriving in record time. Here’s how to elevate your results beyond basic growth to explosive foliage development.
Precision Mixing in Step 1: The 30-second mixing time for primary nutrients isn’t arbitrary—it ensures complete dissolution of the 1 teaspoon potassium nitrate and ½ teaspoon monoammonium phosphate. Use a clean plastic spoon and stir in a circular motion to create micro-currents that prevent settling. If you notice any undissolved particles after 30 seconds, strain immediately through a fine-mesh sieve. This step prevents nutrient deficiencies that manifest as yellowing leaves or stunted stems within just days.
Secondary Nutrients Are Non-Negotiable: Skipping the ¼ teaspoon calcium nitrate and ⅛ teaspoon magnesium sulfate in Step 2 sacrifices structural integrity and chlorophyll production. The faint cloudiness that appears is normal—it indicates proper integration of these critical components. For 4 servings, maintain strict separation of batches to avoid cross-contamination, which can lead to inconsistent growth patterns across your plants.
Micronutrient Distribution in Step 3: The 45-second stirring time for micronutrients isn’t just about mixing—it’s about preventing hotspots that can burn delicate roots. Prepare the micronutrient blend in a separate container first, then pour it into the primary solution while stirring continuously. This two-step process ensures even distribution of chelated iron, manganese sulfate, and zinc sulfate, which prevent deficiencies like yellowing between leaf veins. Remember, this mixture should maintain uniform color without streaks—anything less means potential stress for your plants.
pH Stabilization Matters: After adjusting your solution to the 5.5-6.2 range in Step 4, the 10-minute stabilization period is crucial. This allows any pH adjustments to fully integrate without shocking your plants’ root systems. Test again after 10 minutes—if the reading jumps back outside the ideal range, you’ve overcorrected and may need to dilute slightly with distilled water before use.
Pro Tips for Feeding Indoor Plants
- Mastering this nutrient blend transforms your indoor garden from merely surviving to thriving in record time. Here’s ...
- Precision Mixing in Step 1: The 30-second mixing time for primary nutrients isn’t arbitrary—it ensures complete disso...
- Secondary Nutrients Are Non-Negotiable: Skipping the ¼ teaspoon calcium nitrate and ⅛ teaspoon magnesium sulfate in S...
Frequently asked questions
Got questions about feeding your indoor plants like a pro?
Here are some of the most common queries—plus quick, actionable answers to keep your green babies thriving without the guesswork.
How often should I feed my indoor plants with hydroponic nutrients?
Most indoor plants thrive on a bi-weekly feeding schedule (every 2 weeks) during active growth (spring/summer). In winter, cut back to once a month—they’re basically napping! Always dilute nutrients to half-strength for beginners to avoid burning roots.
Can I use regular soil nutrients or fertilizers instead of hydroponic mixes?
Yes, but with a twist! Water-soluble fertilizers (like 20-20-20) work in a pinch, but hydroponic mixes are more precise—they’re designed for direct root uptake without soil competition. Pro tip: Flush the system monthly with plain water to prevent salt buildup.
My plant leaves are turning yellow/brown after feeding—what went wrong?
This is usually a nutrient burn or overfeeding. Stop feeding immediately and rinse roots with pH-balanced water (5.5–6.5). Yellow edges? Too much salt. Brown spots? Likely chlorine or over-fertilizing. Let the plant recover in filtered or distilled water for a week.
Do I need to adjust feeding based on plant type (e.g., succulents vs. ferns)?
Succulents and cacti
need weak, infrequent feedings (every 4–6 weeks). Ferns and tropicals love consistent, balanced nutrients (bi-weekly). Always check the plant’s light needs too—low light = less feeding.
Is homemade hydroponic nutrient mix cheaper than store-bought?
Sometimes! DIY mixes (e.g., kelp + fish emulsion + Epsom salt) can save money, but they lack precision. Store-bought blends ensure the right NPK (nitrogen/phosphorus/potassium) ratios and micronutrients. For beginners, pre-mixed solutions are worth the investment.
How do I transition a soil-grown plant to hydroponic feeding?
Start by soaking roots in diluted nutrient solution for 10 mins, then repot into hydroponics. Feed at 25% strength for the first week to avoid shock. Monitor for white root tips—a sign of healthy adaptation! Gradually increase strength over 2–3 weeks.
Wrapping up and next steps
Feeding your indoor plants with a homemade hydroponic nutrient mix is simpler—and more rewarding—than you might think! 🌱 With the right balance of nutrients, you’ll see faster growth, lush foliage, and even blooms in no time.
Start small, experiment with ratios, and don’t be afraid to tweak your recipe based on your plants’ needs.
Ready to give your green babies the perfect meal plan? Grab your supplies, follow your customized mix, and watch your indoor garden thrive! Next up: Monitor your plants’ progress and adjust as you go—happy growing! 🚀