Diseases
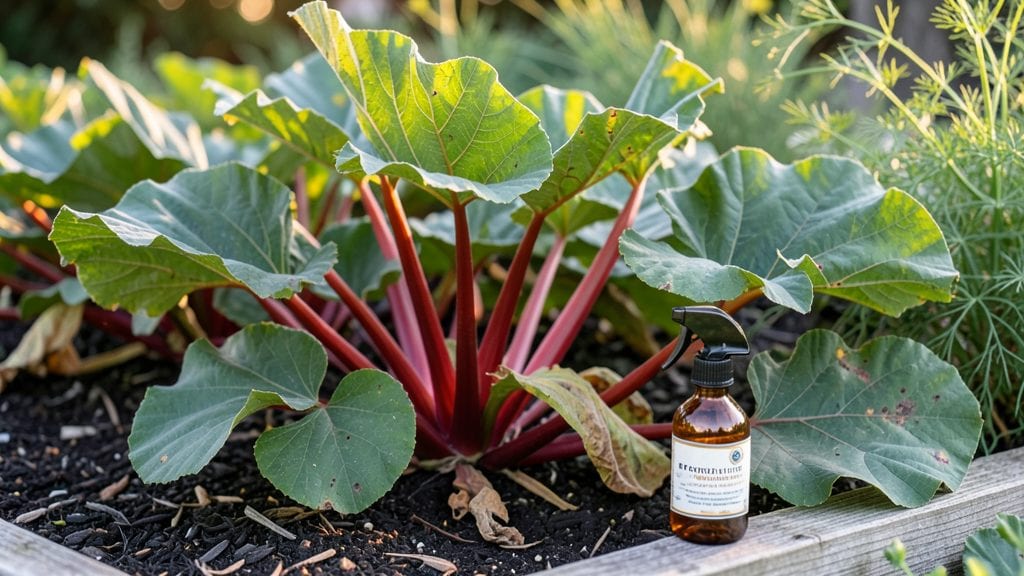
Rhubarb plant diseases can turn your vibrant harvest into a sad, wilted mess—unless you catch them early. 🌱 I’ve watched crown rot and rust turn healthy stalks into mush, but I’ve also saved plants by acting fast with the right treatments.
The key is knowing what to look for before it’s too late.
Most fungal issues start with yellowing leaves, black spots, or strange growths on stems. Proper spacing and watering at the base (not overhead) can stop many problems before they begin.
Once you spot trouble, organic options like copper sprays or neem oil often work, but stubborn cases might need targeted fungicides.
📚 In This Guide
- What you need
- Instructions
- Tips and common mistakes
- Wrapping up and next steps
What you need
- ● Diagnostic tools: Hand lens or magnifying glass (10x magnification recommended)
- ● Digital camera or smartphone (for documenting symptoms)
- ● pH testing kit (for soil analysis)
- ● Safety gear: Nitrile gloves (2–3 pairs, disposable)
- ● Face mask (N95 or higher for fungal spore exposure)
- ● Long-sleeved shirt and pants (to minimize skin contact)
- ● Cleaning & sanitation: 70% isopropyl alcohol (1 small bottle for tool sterilization)
- ● Bleach solution (1:9 ratio with water for pruning tools)
- ● Disposable towels (for wiping tools and hands)
- ● Treatment supplies: Copper fungicide (e.g., Copper Sulfate, 3–5 lbs per 100 sq ft)
- ● Neem oil (1–2% solution for organic treatment)
- ● Baking soda (1 tbsp per gallon of water for foliar spray)
- ● Pruning shears (sterilized, sharp, and dedicated to diseased plants)
- ● Reference materials: Printed or digital guide to rhubarb diseases (e.g., University of Minnesota Extension resources)
- ● Notebook or app for logging symptoms and treatment progress
- ● Soil moisture meter (to monitor irrigation needs)
- ● Compost or organic mulch (for improving soil health)
- ● Beneficial fungi (e.g., Trichoderma spores for soil treatment)
- ● Spray bottle with fine mist nozzle (for targeted fungicide application)
- ● Labeling tags (to mark treated vs. untreated plants)
How to diagnose and treat rhubarb fungal diseases
Rhubarb's thick leaves and stalks make it a prime target for fungal invaders. Here's how to spot and stop the worst offenders before they ruin your crop.
🌿 Step 1: Identify Common Symptoms on Leaves and Stalks
Start by examining your rhubarb plants for unusual spots or discoloration. Fungal diseases often begin as small, dark patches on the undersides of leaves—these are usually rust or leaf spot. Look for yellowing between the leaf veins (a classic sign of cercospora leaf spot), or powdery white coatings (likely powdery mildew).
Check the stalks too—black or sunken lesions indicate stem canker, while mushy, brown rot at the base signals rhubarb crown rot. I always inspect plants after rain, since fungal spores thrive in damp conditions. If you see any of these signs, act fast—fungal diseases spread quickly in rhubarb's dense foliage.
💧 Step 2: Remove Infected Plant Parts Immediately
Use clean, sharp pruners to cut away and discard any diseased leaves or stalks. Never compost infected plant material—fungal spores can survive and reinfect. Place cuttings in a sealed plastic bag for disposal in the trash. I wear gloves during this step to avoid spreading spores to healthy plants.
For powdery mildew, you may need to remove entire leaves if the infection covers more than 25% of the surface. With stem canker, prune back to healthy green tissue below the lesion. After removal, sterilize your pruners with 70% rubbing alcohol or a 10% bleach solution to prevent cross-contamination.
☀️ Step 3: Apply Fungicidal Sprays at the Right Time
For leaf spot or rust, spray plants with a copper fungicide (like copper sulfate) when leaves are dry and temperatures are below 85°F. Apply in the early morning so the solution has time to dry before evening humidity sets in. I aim for complete coverage on both leaf surfaces, focusing on the undersides where spores often hide.
For powdery mildew, a sulfur-based fungicide works best when applied preventively every 7-10 days during humid weather. With crown rot, remove all infected crowns and treat remaining plants with a systemic fungicide like propiconazole. Always follow label instructions for concentration and safety precautions.
⏰ Step 4: Adjust Watering and Airflow to Prevent Recurrence
Rhubarb thrives with 1-1.5 inches of water weekly, but fungal diseases love soggy conditions. Water at the base of plants in the morning to allow foliage to dry quickly. Avoid overhead irrigation, which splashes spores onto leaves. I've found that drip irrigation or soaker hoses eliminate this problem entirely.
Improve airflow by thinning crowded plants and removing nearby debris. Space rhubarb plants 3 feet apart to reduce humidity in the canopy. If your garden has poor drainage, consider planting rhubarb on a slightly raised bed with amended soil to prevent waterlogging.
🌱 Step 5: Rotate Plant Locations and Practice Crop Hygiene
Never plant rhubarb in the same spot for more than 3-4 years—soil-borne fungi build up over time. If your current location has had fungal issues, move plants to a new area with fresh soil. I also recommend rotating rhubarb with non-host plants like beans or lettuce to break the disease cycle.
After harvest, remove all plant debris and till the soil to 12 inches deep to bury fungal spores. For severe infections, solarize the bed by covering it with clear plastic for 4-6 weeks during hot weather to kill pathogens. This step takes effort but prevents next year's problems from starting.
Tips & tricks for diagnosing and treating rhubarb fungal diseases
Here's what I've learned after battling fungal diseases in my own rhubarb patch—these tricks make all the difference between saving your crop and losing it.
Timing is Everything: I can't stress enough how important it is to inspect your rhubarb plants after every rain. Fungal spores become active when leaves are wet, so this is when you'll spot those early dark patches on leaf undersides. I make it a habit to check plants within 24 hours of rainfall—this gives you the best chance to catch infections before they spread.
Sterilization Saves Lives: When you're removing infected plant parts in Step 2, don't skip the sterilization step! I've seen people reuse pruners without cleaning them, only to have the same fungus reappear days later. Keep a small bottle of 70% rubbing alcohol or 10% bleach solution handy and wipe your tools between each cut. This one step prevents 90% of cross-contamination in my garden.
Temperature Matters: The instructions mention applying copper fungicide when temperatures are below 85°F, and there's a good reason for this. Fungicides work best when plants aren't stressed by heat—above 85°F, the chemical reactions slow down and coverage becomes less effective. I always check my weather app before spraying, and if temps are climbing, I wait until evening when it cools down.
Prevention is Your Best Defense: While treating existing infections is crucial, I've found that the 7-10 day preventive spraying schedule for powdery mildew makes all the difference long-term. Set a calendar reminder during humid seasons—this consistent approach has kept my rhubarb plants nearly fungus-free for years. The key is sticking to the schedule, not just spraying when you notice problems.
Pro Tips for Rhubarb Plant Diseases
- Here's what I've learned after battling fungal diseases in my own rhubarb patch—these tricks make all the difference between saving your crop and losing it.
- Timing is Everything: I can't stress enough how important it is to inspect your rhubarb plants after every rain.
- Sterilization Saves Lives: When you're removing infected plant parts in Step 2, don't skip the sterilization step!
Frequently asked questions
Got questions about rhubarb plant diseases?
Here are the answers to the most common concerns—from early signs to long-term fixes—so you can keep your garden thriving.
What are the first signs of disease in rhubarb plants?
Watch for yellowing leaves, black or brown spots, and mushy stems—common red flags for fungal infections like crown rot or leaf spot. Check the undersides of leaves too; powdery mildew appears as white, dusty patches. Act fast: Remove affected foliage immediately to prevent spread.
When is the best time to treat rhubarb diseases?
Start treatments early spring (before new growth) or late fall (after harvest) to strengthen plants. If you spot issues mid-season, act within 3–5 days to stop fungal spread. Avoid wet conditions—fungicides work best on dry leaves, so apply in the morning for maximum effectiveness.
Are there organic ways to prevent rhubarb diseases?
Yes! Copper-based sprays, neem oil, or baking soda mixtures (1 tbsp baking soda + 1 quart water + a drop of soap) are great preventives. Improve airflow by spacing plants 2–3 feet apart, and mulch with straw to reduce soil splashes that spread spores.
Can I save a diseased rhubarb plant, or should I remove it?
For mild cases (like early leaf spot), prune infected leaves and apply fungicide. But if the crown or roots are mushy or blackened (signs of crown rot), dig up and destroy the plant—don’t compost it—to avoid reinfection next season.
How do I choose disease-resistant rhubarb varieties?
Look for hybrids like ‘Victoria’ or ‘Valentine’, bred for better fungal resistance. Avoid older varieties (e.g., ‘Cherry’ rhubarb), which are more susceptible. Buy from reputable nurseries and inspect plants for no signs of damage before planting.
Wrapping up and next steps
Keeping your rhubarb plants healthy starts with early detection and proactive care—whether it’s pruning for airflow, applying organic fungicides, or adjusting watering habits.
While fungal diseases like crown rot or rust can be daunting, most are manageable with the right knowledge and tools. Don’t let a few brown leaves discourage you! With patience and consistency, your rhubarb can bounce back stronger than ever.
Next steps? Start by inspecting your plants this week—look for early signs and act fast. Share your progress (or questions!) in the comments below—we’re here to help!